
General Camera System Installation Guide
1.) Mount cameras in location desired. (Mounting screws are included with most cameras, but make sure they are the correct type and length of screw required for the substrate you are mounting the camera to.)
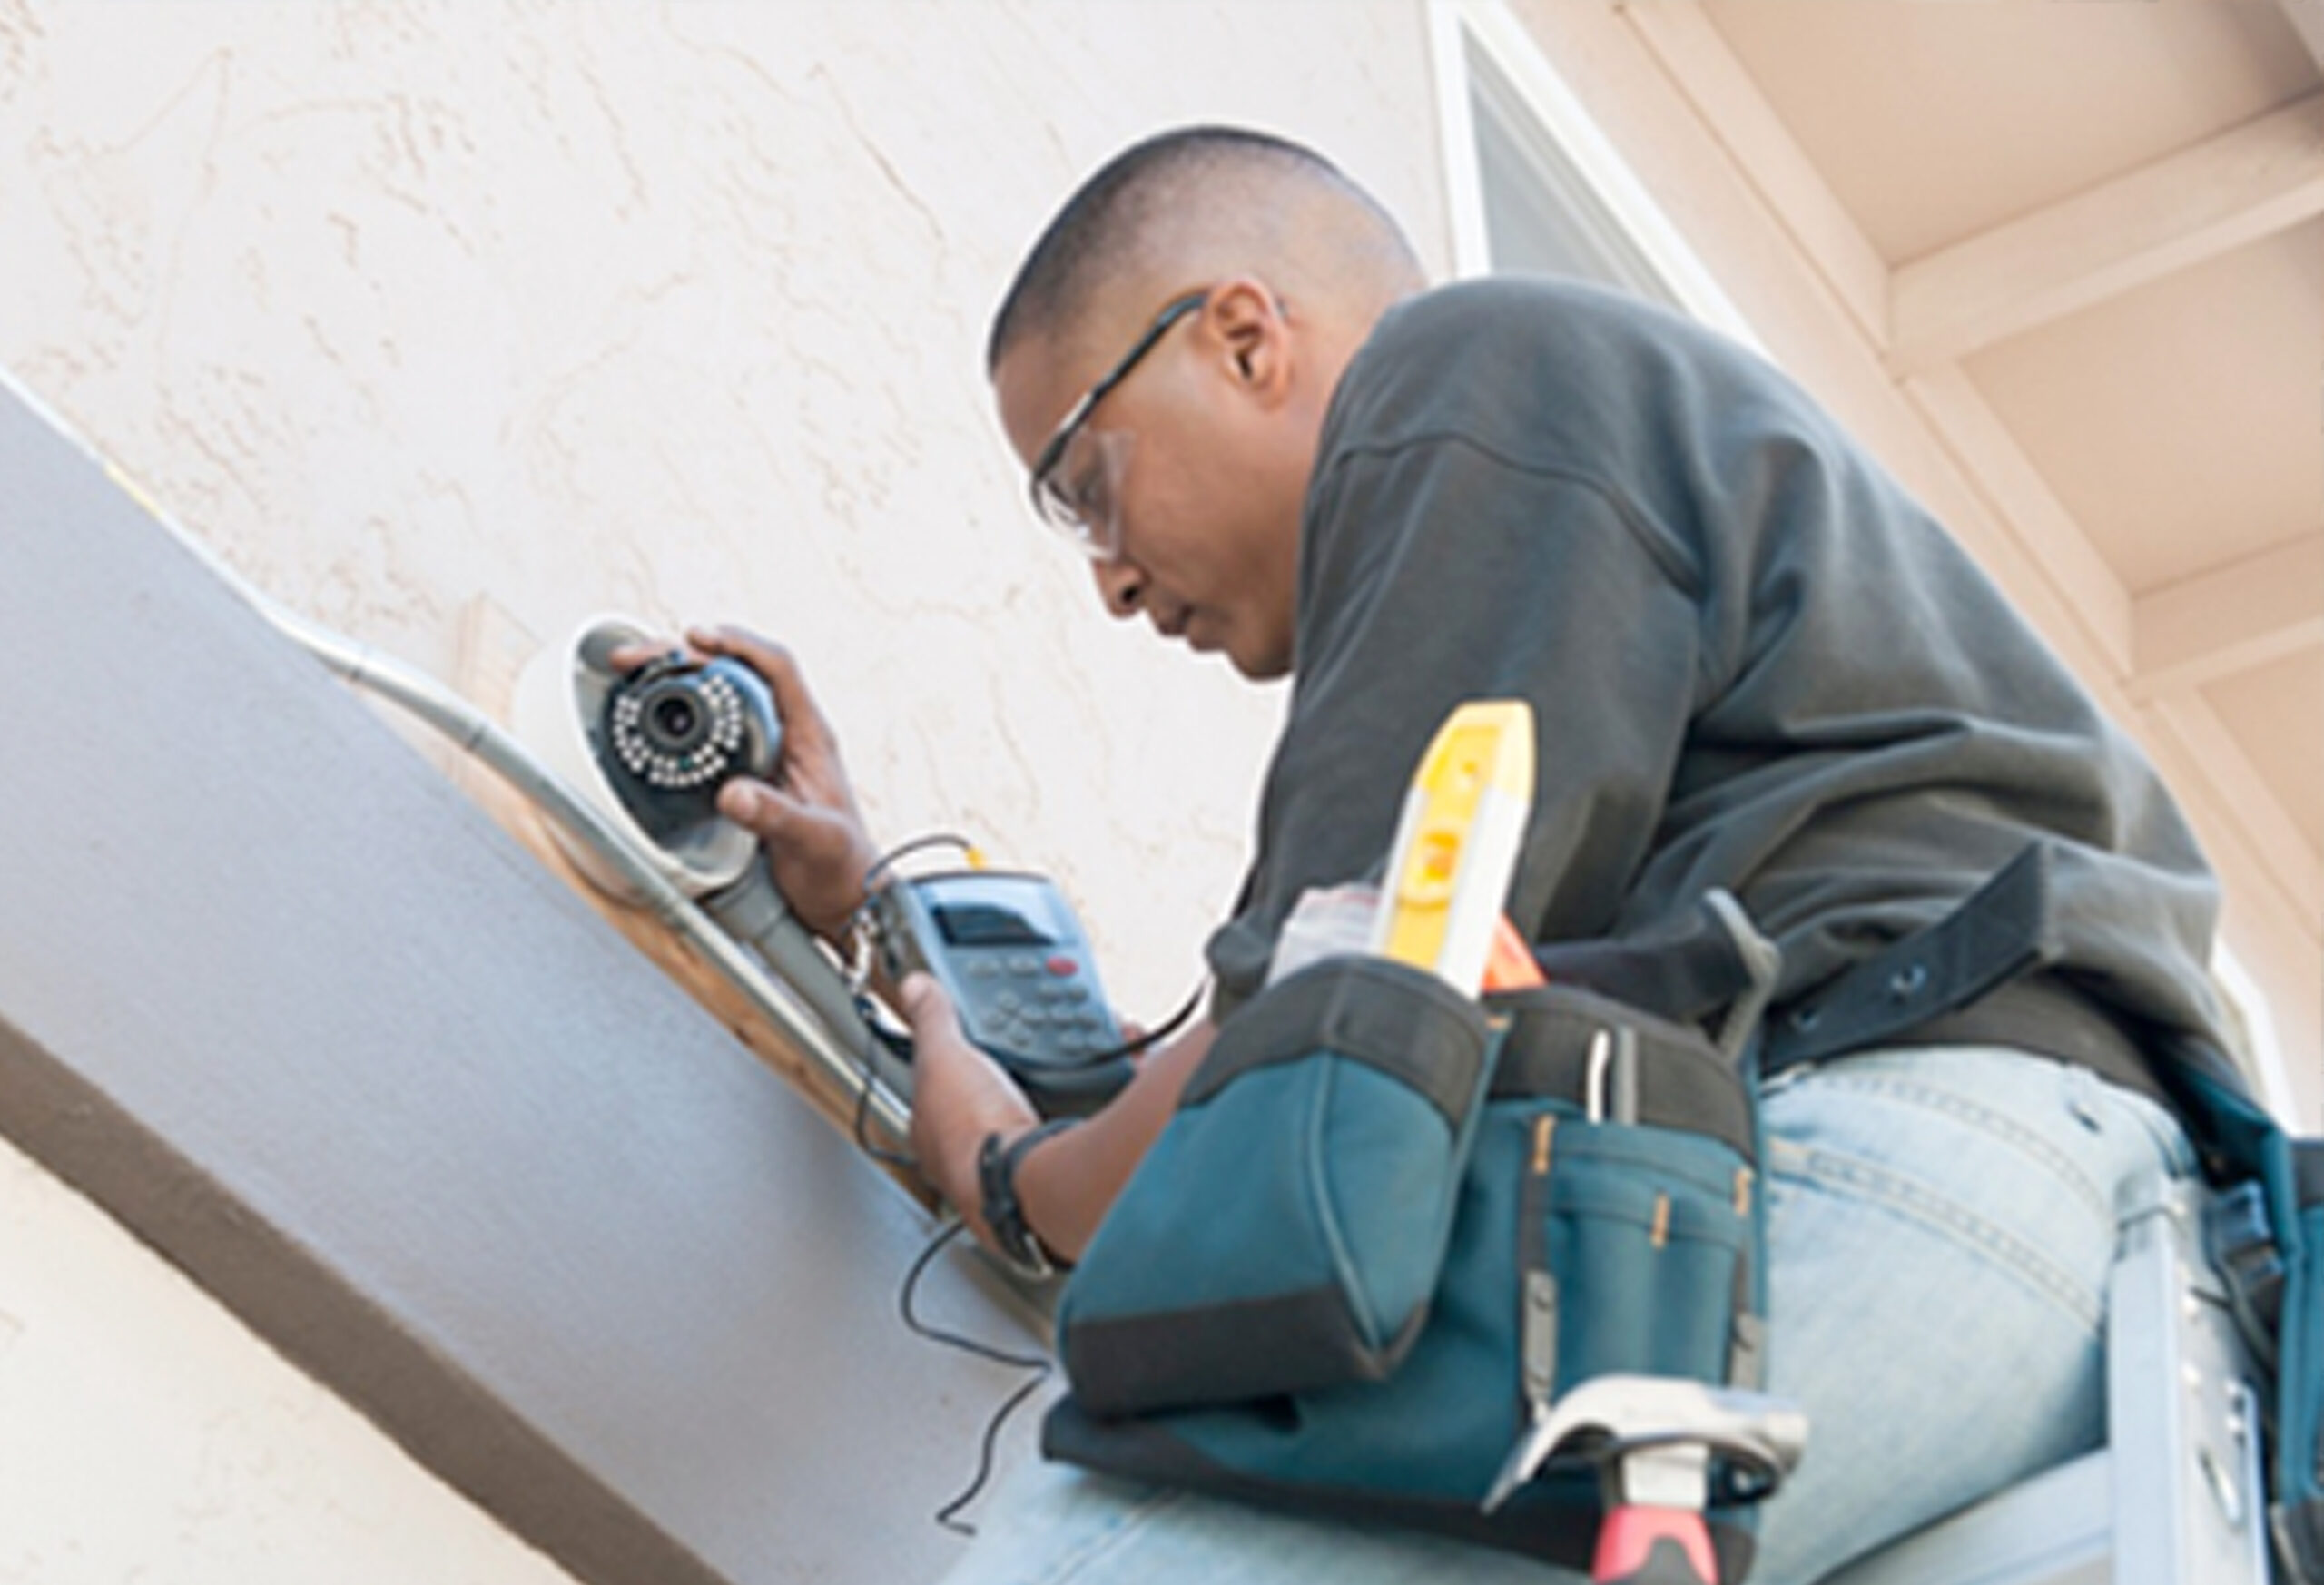
2.) Run all of your video cabling back to the DVR, or in the case of an IP System, to the Switch or there may also be plugins on the NVR itself. IP Systems supply power to the camera in most cases, and in Analog Systems, there will be power wires, which will be connected to a separate Power Transformer or a Central Power Supply cabinet. Label your cabling on the Recorder end and the camera end, so when you terminate your cables, you will be able to tell which wire to connect and will not need to “tone out” the wire to tell which one it is.
3.) Terminate all cables (If premade cabling was purchased your terminations have already been made for you.)a. Video cabling – RG59, RG6 coax, or cat5/6 Power/Video/Audio wire with our EZ RJ45 connectors. (termination instructions for RG59 coax are included with your toolkit if purchased).b. Analog Power Wires – strip ~1/2” on each end of each wire.4.) Never cut molded power connectors off of the camera leads or cabling. Adapter leads have been provided if they are needed. For each of your cameras – connect the video wire at the camera end, and into the camera inputs at your DVR or NVR.
For separate Power wires for Analog cameras or with some IP PTZ’s, MAKE SURE ALL WIRING IS CONNECTED WITH THE CORRECT POLARITY. For low voltage camera wires the POSITIVE WIRES ARE ALWAYS RED!
Wrap all exposed connections with black electrical tape or heat shrink or Coax Seal to prevent any ground looping or corrosion.
NOTE:All high voltage electrical connections must be made by a licensed electrician.
(installation may vary depending on exact equipment purchased)
You have unlimited technical support with the purchase of your equipment, so please call with any questions you may have and our staff will walk you right through the installation.
